What Happens When You Overthink Buttons?
- Ansh Trivedi
- Jul 20
- 2 min read
Updated: Jul 21
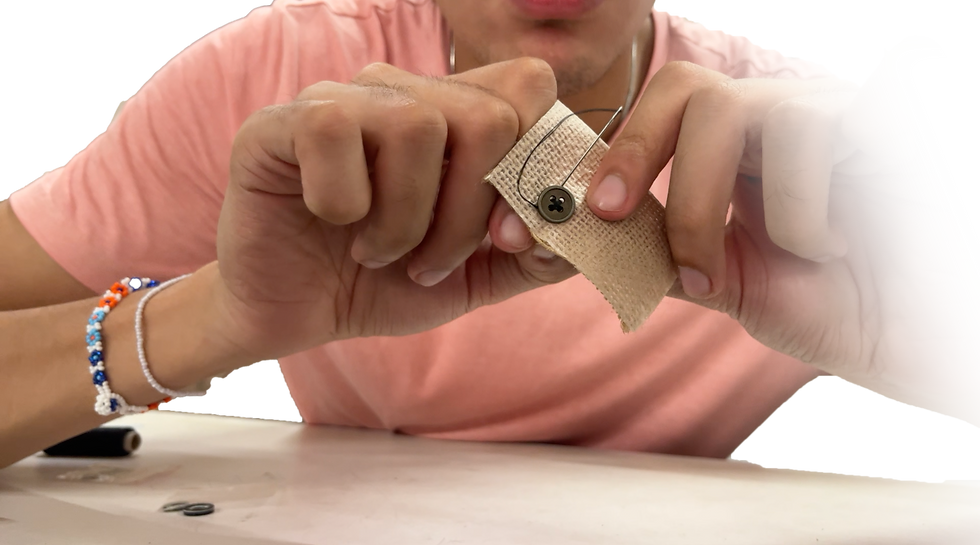
Buttons look innocent. I thought so too, until I sewed 50 of them by hand. Never again!
This project started with “Why does sewing a button take so long?”. I have seen tailors hunch painfully over piles of cloth, sewing buttons one after the other. Wives of tailors, spending days on button work! Its slow, irritating and mind-numbing!
I tried it myself, over 50 buttons- trying out tons of different techniques. Each button ended with- ”this deserves better design”.

My curious brain did the research just to find no decently priced button sewing machines. Each and every one over half a lakh rupees!
The problem statement:
Sew buttons as fast and easily as possible.
Make it ergonomic for repetitive usage.
Make it accessible and free from any battery or power.
Design for longevity and repairability.
The machine existed, but not for the people actually using it- small to medium scale tailors (in many cases their family member who did such tasks).

The process started with me making dozens of messy sketches and mechanism explorations, both on paper and physically. My first mechanism prototype kept jamming. The second followed in its footsteps. The third one was laughably big but things started to work!
The source mechanism was a mix of a scotch and yolk, engaging and disengaging gears and a lever action that powered it all. Getting everything to work together was a pain but after over 10 iterations, the mechanism- something completely new, was working! Other secondary actions were also mechanised later on.

There was also some work done on the form and outer body of the sewing machine. Multiple essential visual attributes were noted down and followed throughout the form development process.

After tons of Fusion360, cardboard models, 3d printed prototypes, a lot of patience and testing out models, the sewing machine was ready.
The outcome?
Under 20 seconds to stitch a button
Reduces labor time by 75%!
Compact, ergonomic and easy to use
No batteries or power required
Built for real small/medium scale studios


Honestly, I’d love to keep tweaking it and get the mechanism to be even smoother. There is just so much room to experiment.
If you have thoughts, ideas, or suggestions—I’d love to hear them.

Comments